How to Use OBS for Narrating Live on Discord
By: C.B.Vaughn
From: Aven Shore Narrating
You’ve sorted out the basics, now you want to know how to share your screen with that neat compiler the cool kids are using that shows you, your DAW, the cover of the book you’re recording, and more….
Download OBS (Open Broadcaster Software).
Open it. You’ll get a blank workspace window.
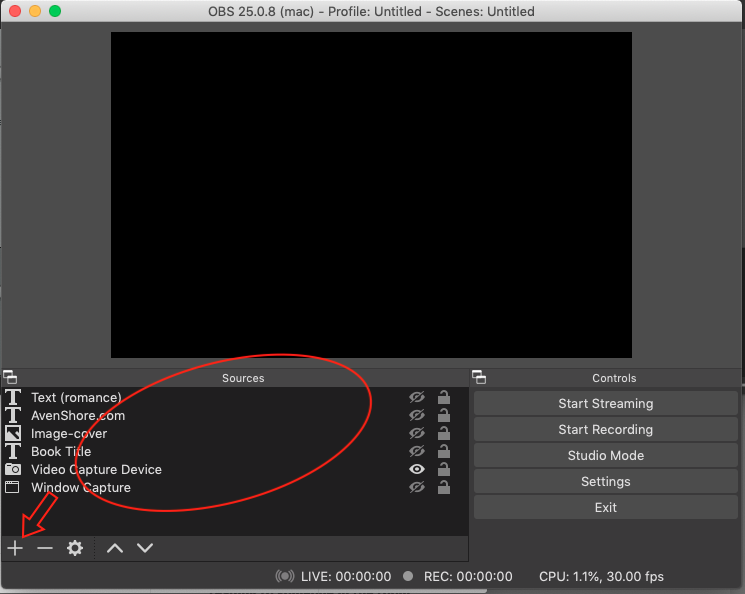
The “Sources” area (circled) will be blank for you at first too, unlike screenshot, but we’re going to populate that next.
Click the plus sign far lower left to add a source.

The four sources that you’re likely to use, and can probably build anything with, are arrowed.
Let’s start with your video – Video Capture Device. You’ll get a popup –

Create New … Make Source Visible is ticked. OK. Dropdown to choose your device (if your cam is not currently connected or powered it won’t show as an option). Presets – I choose the smallest resolution offered, to not stretch my bandwidth anywhere I don’t have to.
OK. Now Video Capture Device will show in your list of sources (the eye shows that it’s visible), and you’ll see the drag-able, resizable red window of your camera input. You can move it and size it, like you can all the other parts you add.
The black square is what your viewers will see. You can drag red squares to bleed outside of that area, it will get cropped off.
Now let’s add your DAW. Plus sign, Window Capture, Create New, Make Source Visible checked, OK…. That dropdown will show you every window open on your computer, and if your DAW is open, it will be in the list.
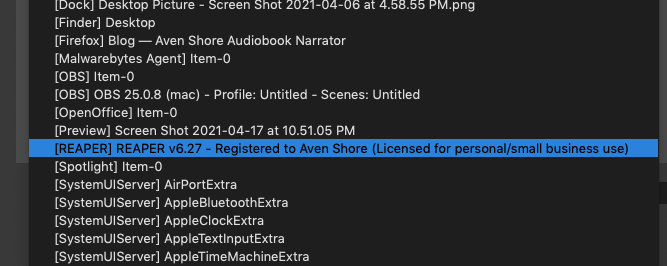
Choose it, OK. Now you have two boxes to drag around. My DAW is one I happen to drag larger than the viewable area, to crop out the uninteresting goingson. Like this:

Moving on…you can add the cover of the book you’re working on as an Image. Browse for it, place it where you wish.
Lastly, you might want to add some Text. Like, your name, your website, inspirational quotes… whatever you want.
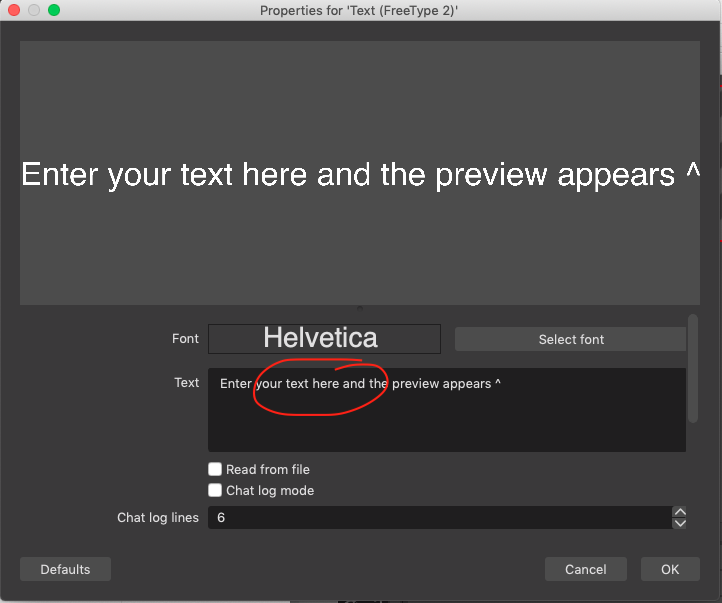
With text, there’s quite a bit you can do in the dialogue. Type your text into the box, then Select Font. You’ll have access to any of the fonts you have on your computer, and you can size, bold, strikethrough, etc.

Ok, now you might have a fine mess of components collected! Time to have fun fitting them together the way you want. Let’s look a little more at how to manipulate them:

-
the eyes in the source list can be clicked to toggle visible on and off (say, you can have three different book covers and different versions of text, and only turn one of them on). Components marked not visible will show up as blue “ghost rectangles” when you mouse over
R-click on each component in your Source list for more options. Here you might:
-
Rename! Rather than just “text” (and having three “text” items), I’ve renamed mine to say what they are – “AvenShore.com”, “book cover”, etc
-
You can do basic flip/rotate/align under Transform
-
When you get a selection of components just right, you can Group them (drag a box- everything it touches gets selected)
-
Order is the top to bottom order of layers, so you can choose to have text writing across your video, or your book cover
-
Copy is the easiest way to duplicate a component that’s just so
R-click your Text items for endless color choices under Set Color > Custom Color, and investigate Filters on all components for Masking/Blending and more (plus sign in the lower left in the Filters dialog to add Filter “effects”)
Alright!
Everything put together the way you want it to look and you’re ready to go live?
Ignore all of this stuff on the lower right, btw:

And good news, all of this layout will be automatically saved for next time (except I find I have to remind it of camera source and DAW at times).
TO GO LIVE. You want to R-click on the grey area outside of your viewing area, without being clicked on any components. Nothing should be in red outline! Choose Windowed Projector (Preview). If you see Windowed Projector (Source) you have a component selected; click again on unoccupied grey space to unselect then R-click again.

You’ll get a miniature window pop up that’s a repeat of what you’ve just created.

Now you can minimize your main OBS window, and tuck that Windowed Projector away somewhere on your desktop; you won’t need to see it.
Time for Discord. In Discord, in a voice channel, choose Screen.
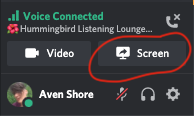
Then look for the Windowed Projector in Applications tab, and Go Live! Again, I choose the lowest frame rate to save bandwidth.

You’re done. You’ll get the little red LIVE icon by your name. The Screen button will be green as long as you’re live. If you get disconnected you’ll have to restart your stream again. Click Screen and choose Stop Streaming to cease.
_________________________________________________________________________________________
Remember to tag @Listeners when you start! Although there’s no need to tag them for the beginning and end of every snack and water break, and I find it’s best to announce at the time you’re starting, not “Starting in 5/10/30 minutes”. Definitely post that on Facebook! Give people time to fire up Discord.
Post on your own FB page! Share the link to the Haven https://discord.gg/2ddtbmE or the Nook https://discord.gg/c8EEk3H and the express “Here’s how to get around” instructions for new listeners https://aven-shore.squarespace.com/blog/2020/5/30/using-discord-for-narrators.
Post (follow group rules and don’t overwhelm) that you’re going to be working on a particular book – and your schedule, if you keep a regular one – in groups of audiobook listeners of your genre, to invite more visitors!
Enjoy!
